Empowering Your Water: A Comprehensive DIY Reverse Osmosis Filtration System Installation Guide
I. Introduction
Embarking on the journey of installing your Reverse Osmosis (RO) filtration system is a significant step toward ensuring a constant supply of clean and purified water in your home. This guide serves as your comprehensive companion, offering insights, instructions, and expert tips to empower you as the master conductor of your water purification symphony. Let’s dive into the world of DIY RO system installation and unlock the potential for a healthier, self-sufficient lifestyle.
1.1 Embracing Clean Water at Home
In a world where water purity is paramount, the DIY installation of a Reverse Osmosis (RO) filtration system empowers homeowners to take control of their water quality. This comprehensive guide unfolds the step-by-step process, ensuring a seamless integration of advanced filtration technology into your living space.
Also Read: Best Water Purifier Under 15000 In India
9 Best Water Purifier in India
II. Understanding Reverse Osmosis
2.1 Demystifying RO Technology
Before delving into installation specifics, it’s crucial to grasp the fundamentals of reverse osmosis. This section elucidates how RO systems work, detailing the role of semi-permeable membranes and the selective filtration process that separates impurities from water molecules.
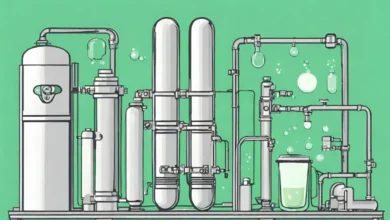
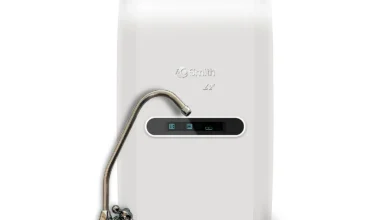
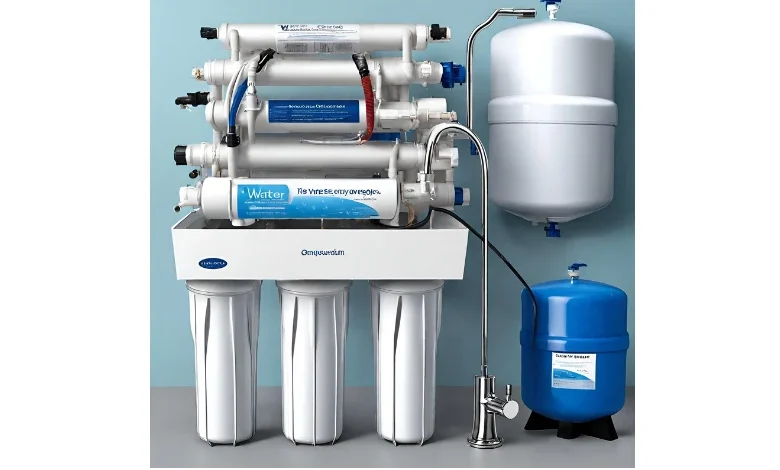
2.2 Components of an RO System
An in-depth exploration of the key components that constitute a typical RO system provides a foundation for the subsequent installation steps. From the pre-filter to the post-filter, each element plays a vital role in ensuring the delivery of pure and safe drinking water.
III. Tools and Materials
3.1 Building Your Arsenal
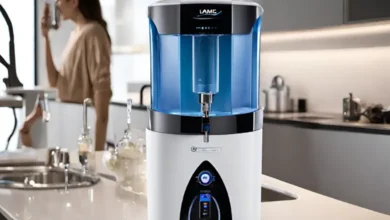
Equipping yourself with the right tools and materials is the first step towards a successful DIY installation. This section provides a detailed checklist, ensuring you have everything from wrenches and tubing cutters to the RO system itself.
3.2 Understanding System Specifications
Before purchasing tools and materials, understanding the specifications of your chosen RO system is essential. Dive into this subsection for insights into system requirements, ensuring compatibility and a streamlined installation process.
IV. Preparing Your Space
4.1 Finding the Perfect Spot
Choosing the optimal location for your RO system is a crucial consideration. Factors such as water source proximity, drainage options, and available space influence the system’s efficiency. This section guides you through the decision-making process to ensure a strategic installation location.
4.2 Safety Measures
Safety first! Before diving into installation, it’s essential to take necessary precautions. This includes understanding electrical considerations, securing the work area, and having a basic knowledge of potential hazards. This section provides a comprehensive safety guide.
V. Step-by-Step Installation
5.1 Stage 1: Pre-Installation Checks
Before you begin the physical installation, a series of pre-installation checks help ensure all prerequisites are met. From verifying the contents of your RO system to assessing water pressure, these checks set the stage for a smooth installation process.
5.2 Stage 2: Installing the Pre-Filter
Detailed instructions on installing the pre-filter are provided in this section. Clear visuals and step-by-step guidelines ensure that even those new to plumbing can confidently navigate this crucial stage of the installation process.
5.3 Stage 3: Mounting the RO System
Guidance on mounting the RO system itself comes next. This includes securing the unit, connecting tubing, and understanding the intricacies of the system’s configuration. Tips for avoiding common pitfalls are woven into the narrative, offering valuable insights.
5.4 Stage 4: Post-Installation Checks
Once the RO system is in place, a series of post-installation checks help guarantee its functionality. This includes testing for leaks, checking water pressure, and ensuring a steady flow of purified water. Troubleshooting tips are also provided.
VI. Maintenance and Troubleshooting
6.1 Extending the Lifespan
A well-maintained RO system is a reliable one. This section outlines routine maintenance tasks, from changing filters to sanitizing components, ensuring the longevity of your investment.
6.2 Troubleshooting Common Issues
Even with meticulous installation and maintenance, occasional hiccups may occur. This troubleshooting guide addresses common problems such as low water pressure, unusual tastes, and system leaks, offering practical solutions.
6.3 Upgrading Your System
For those looking to enhance their RO system over time, this subsection delves into potential upgrades. From advanced filtration options to smart technology integration, explore ways to keep your system in line with evolving water purification standards.
VII. Benefits of DIY Installation
7.1 Cost Savings
Installing your RO system can lead to significant cost savings compared to hiring a professional. This section breaks down the potential expenses and highlights where DIY installation provides economic advantages.
7.2 Empowerment and Learning
Beyond the financial aspect, embarking on a DIY installation journey empowers homeowners with a deeper understanding of their water systems. Knowledge gained during installation fosters a sense of control and responsibility.
7.3 Customization for Unique Needs
Discover the advantages of tailoring your RO system installation to meet specific water quality needs. Whether it’s addressing regional contaminants or customizing the system for a larger household, this subsection explores the flexibility that DIY installation offers.
VIII. Conclusion
In conclusion, this comprehensive DIY Reverse Osmosis Filtration System Installation Guide equips homeowners with the knowledge and confidence to embrace clean, purified water at home. From understanding the technology to mastering the installation process, this guide serves as a roadmap towards a healthier, self-sufficient lifestyle.