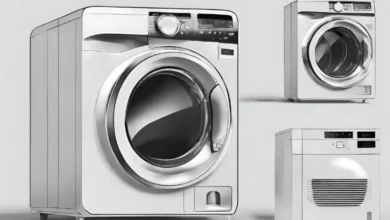
DIY Steam Cleaning Solutions for Washers
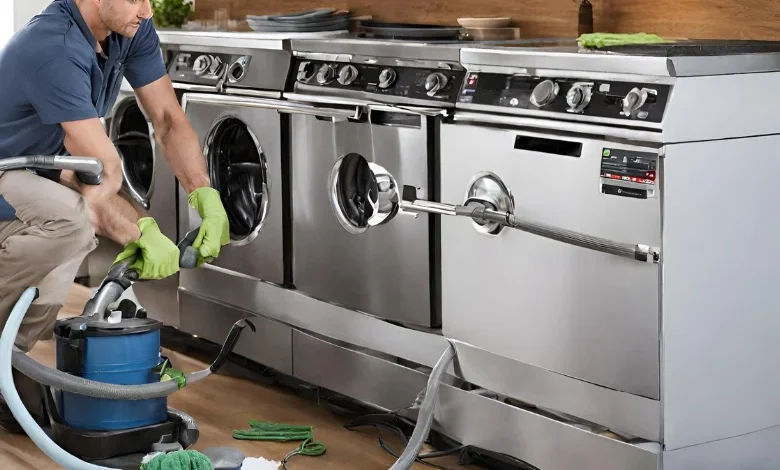
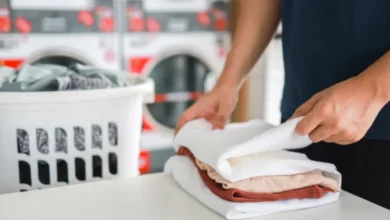
Maintaining the cleanliness of your washing machine is absolutely crucial for its optimal performance and to ensure your laundry comes out fresh and clean. Over time, washers can accumulate detergent residue, mold, and unpleasant odors, leading to potential issues. In this comprehensive guide, we will explore step-by-step instructions, detailing various methods to steam clean your washer using easily accessible ingredients, providing you with a cost-effective and efficient solution.
Also Read: Best Washing Machine in India
Understanding the Importance of Steam Cleaning
The Power of Steam
Before diving into the cleaning process, it’s essential to understand why steam cleaning is exceptionally beneficial for your washer. Steam is a robust natural cleaner that not only helps dissolve grime, mold, and detergent buildup but also effectively sanitizes surfaces, eliminating bacteria and odors. Regular steam cleaning is not just a maintenance task; it’s a key factor in prolonging the life of your washing machine and ensuring that it operates at its best for years to come.
Basic DIY Solution with Vinegar and Water
Ingredients:
- White vinegar
- Water
Instructions:
- Mixing the Solution:
- In a large container, combine equal parts white vinegar and water. For a standard top-loading washer, a gallon of each should suffice, providing you with an ample cleaning solution to tackle the accumulated grime and odors.
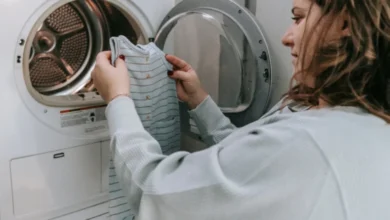
- Empty the Washer:
- Before initiating the cleaning process, it’s essential to ensure the washing machine is completely empty. Remove any clothes or items inside, allowing the cleaning solution to work effectively on all surfaces.
- Pour the Solution:
- Carefully pour the vinegar and water mixture into the detergent dispenser or directly into the drum, ensuring even distribution of the cleaning solution throughout the interior of the washer.
- Run a Hot Water Cycle:
- Set the washer to the hottest water temperature setting available. Running a complete wash cycle without any laundry, with the hot water combined with vinegar, will effectively break down and remove accumulated residue, leaving your washer refreshed.
- Wipe Down Surfaces:
- While the washer is running, take a cloth dipped in the vinegar solution and thoroughly wipe down the exterior surfaces. Pay particular attention to areas such as the control panel and the door, ensuring that any external residues are also addressed during the cleaning process.
- Final Rinse:
- To complete the cleaning process, run an additional hot water cycle without any additives. This final rinse ensures the elimination of any remaining vinegar smell, leaving your washing machine ready for your next load of laundry.
Deeper Clean with Baking Soda
Ingredients:
- White vinegar
- Baking soda
- Water
Instructions:
- Preparation:
- Building upon the basic DIY solution, this method involves additional steps to achieve a deeper clean. Start by following the steps outlined in the basic DIY solution with vinegar and water.
- Adding Baking Soda:
- After the initial cycle, take a step further by sprinkling one cup of baking soda directly into the drum of the washer. This addition enhances the cleaning power of the solution, particularly effective in breaking down tough stains and lingering odors.
- Run a Second Cycle:
- Set the washer to another hot water cycle. The combination of vinegar and baking soda will work synergistically to break down tough stains and odors that may have built up over time, ensuring a thorough cleaning process.
- Scrubbing the Drum:
- While the second cycle is running, take a soft brush or sponge and actively scrub the interior of the drum. Pay close attention to any visible stains or mold, ensuring that the mechanical action of scrubbing complements the cleaning power of the solution.
- Wipe Down Again:
- Following the second cycle, use a cloth soaked in the vinegar solution to wipe down both the interior and exterior surfaces of the washer. This step adds an extra layer of assurance, addressing any remaining residues and ensuring a comprehensive cleaning process.
- Final Rinse:
- Conclude the process with an additional hot water cycle. This final rinse is crucial for ensuring that all residues, including those loosened during the scrubbing process, are thoroughly flushed out, leaving your washing machine in optimal condition.
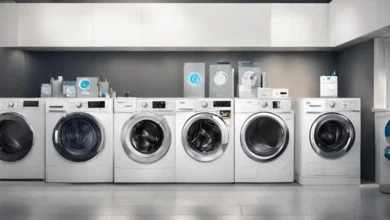
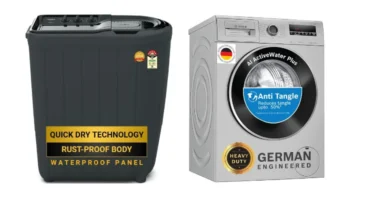
Specifics for Front-Loading Washers
Challenges of Front-Loading Washers
Front-loading washers present specific challenges due to their design. Here’s a detailed approach tailored to these machines:
Instructions:
- Rubber Gasket Cleaning:
- Front-loading washers typically feature a rubber gasket around the door. To address this specific area prone to mold and residue buildup, pull the gasket back and clean any visible mold or residue using a mixture of vinegar and water. A toothbrush or a small brush can be particularly useful for this task, ensuring a thorough cleaning of this often-neglected component.
- Drawer Cleaning:
- Another unique feature of front-loading washers is the detergent dispenser drawer. Remove this drawer and soak it in a solution of vinegar and water. Scrub away any buildup, ensuring that all compartments are thoroughly cleaned. This step is crucial as residue in the detergent dispenser can affect the efficiency of your wash cycles.
- Run Additional Rinse:
- Front-loading washers may benefit from an extra rinse cycle. This step is especially important for ensuring complete removal of residues, particularly in areas such as the rubber gasket and detergent dispenser, where buildup can be more prevalent.
Monthly Maintenance Tips
Proactive Washer Care
To keep your washer in top condition, consider incorporating these monthly maintenance tips into your routine:
- Check and Clean Filters:
- Some washers are equipped with filters that trap lint and debris. Regularly consult your washer’s manual to locate and clean these filters, preventing potential blockages and ensuring optimal performance.
- Leave the Door Ajar:
- After each wash, consider leaving the washer door slightly ajar. This simple practice allows for better air circulation within the drum and helps prevent the growth of mold, contributing to a more hygienic and efficient laundry environment.
- Inspect Hoses:
- Periodically inspect hoses for any signs of wear or leaks. These hoses play a crucial role in water supply and drainage. Replacing them when necessary helps prevent potential water damage, extending the lifespan of your washing machine.
Benefits of DIY Steam Cleaning
Cost-Effectiveness and Eco-Friendliness
Apart from the immediate cleanliness benefits, DIY steam cleaning offers additional advantages:
Extended Appliance Lifespan
Regular steam cleaning not only ensures a hygienic laundry environment but also contributes to the longevity of your washing machine. By preventing the buildup of mold and residue, you reduce the risk of malfunctions and extend the appliance’s lifespan. This proactive approach to maintenance is an investment in the longevity of your appliance.
Reduction in Energy Consumption
A clean washer operates more efficiently, leading to potential energy savings. The removal of residue allows the heating element to function optimally, reducing the time and energy required to heat water during wash cycles. By incorporating DIY steam cleaning into your routine, you not only promote the efficient operation of your washer but also contribute to energy conservation.
Conclusion
In conclusion, incorporating DIY steam cleaning solutions into your washer maintenance routine is a practical and cost-effective approach to ensure the longevity and optimal performance of your appliance. The step-by-step methods outlined, including specific considerations for front-loading washers, provide a thorough and effective cleaning process. Additionally, the monthly maintenance tips and the benefits of DIY steam cleaning underscore the importance of proactive care for your washing machine.
By following these detailed guidelines, you not only address immediate concerns such as odors and residue but also establish a proactive maintenance routine that safeguards your investment in a reliable appliance. The comprehensive nature of these cleaning methods, coupled with the insights into the unique challenges of front-loading washers, empowers you to take control of your washer’s cleanliness and functionality.
The additional section highlighting the benefits of DIY steam cleaning emphasizes the long-term advantages of incorporating these practices into your regular maintenance routine. The cost-effectiveness and eco-friendliness of DIY solutions make them accessible to a wide range of users, ensuring that you can keep your washing machine in top condition without breaking the bank.
Furthermore, the extended appliance lifespan resulting from regular steam cleaning is a testament to the importance of preventive maintenance. By taking proactive measures to keep your washer clean, you reduce the likelihood of issues arising over time, ultimately saving you money on repairs or replacements.
The reduction in energy consumption is a noteworthy benefit, contributing to both environmental sustainability and potential cost savings on your utility bills. A clean washer operates more efficiently, requiring less energy to heat water during wash cycles. This dual benefit of energy efficiency and environmental impact adds to the overall value of incorporating DIY steam cleaning into your washer care routine.
In summary, this guide not only provides detailed instructions for DIY steam cleaning but also explores the broader context of washer maintenance. The inclusion of specific steps for front-loading washers, monthly maintenance tips, and insights into the long-term benefits of DIY steam cleaning creates a comprehensive resource for users looking to ensure the cleanliness and functionality of their washing machines.